Mac 101: How to create a time-saving printer pool in OS X

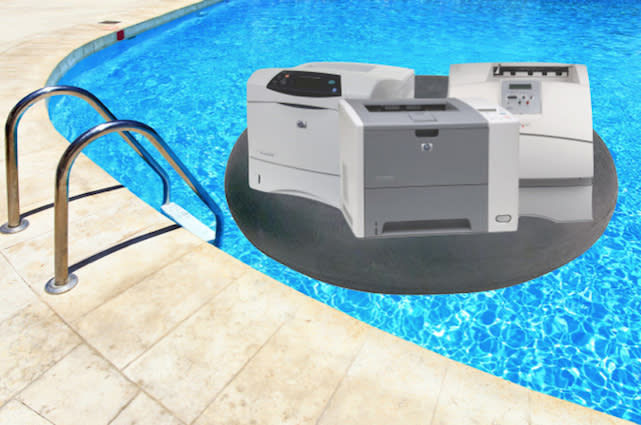
Yesterday I had a call from an old consulting client of mine, who was wondering if there was a way that she could set up a way of sending print jobs from a Mac to any printer in her office -- any printer that wasn't already tied up printing something else for another person. Her company does a lot of large documents, so the employees in the company are often tying up printers while doing test prints for clients. There is a way to easily do this without having a print server in the office, and it's called a printer pool.
Setting up a printer pool from any Mac takes just a few seconds. Go to System Preferences > Printers & Scanners, and you'll see a list of all of the available printers on your network. Next, select the printers you wish to have in a printer pool by command-clicking them. For example, you might want to have a printer pool for all of the high-resolution color printers on the network and another one for the fast black and white laser printers. Command-click all of the printers of a specific type that you want in a pool to select them, and then you'll see a button that not only lets you create a printer pool, but name it so that it's easily recognizable.
Once you've created the printer pool, you can select it as a "printer" from any print dialog. What will happen is that your Mac will send the print job, determine which printer(s) are currently idle, and then do the printing on an available printer. It's an easy way to keep all your printers busy and your employees from waiting on an open printer.
