0
2027 Rivian R2 first drive: Rivian's second SUV is its best yet
It's not perfect, but Rivian's latest shows this company is playing for keeps.
Read More
It's not perfect, but Rivian's latest shows this company is playing for keeps.
Read MoreThe Defense Department has released an updating list of companies linked to the Chinese military, and it now includes Alibaba and Baidu.
Read MoreThe FCC has given Amazon an extension to a key milestone for its Leo satellite internet deployment.
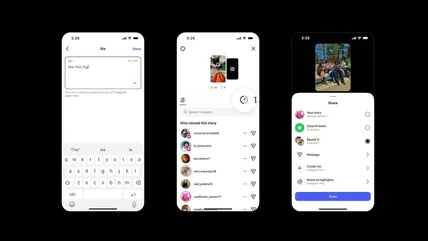
Read MoreYou can now rearrange posts on Instagram the way you want to.
Read MoreCan’t a multi-trillion-dollar company have secrets any more?
Read More"We expect it to leak so we're just announcing it."
Read MoreThe AI subscription now starts at $5 per month.
Read MoreApple's focus on efficiency and performance improvements is good news for older iPhones.
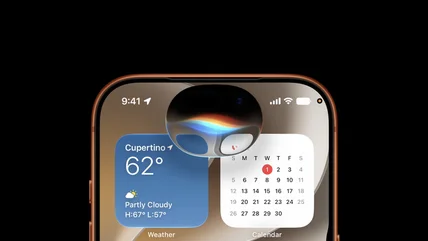
Read MoreYou’ll need to be running Apple silicon to use the latest operating system.
Read MoreAxiom has showed off its new spacesuit's inner layer, designed to keep astronauts cool on the moon.
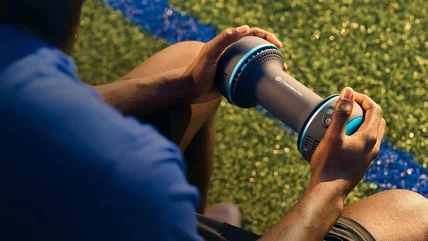
Read MoreThe CryoTherm Palm can switch between cold, heat and contrast therapy.
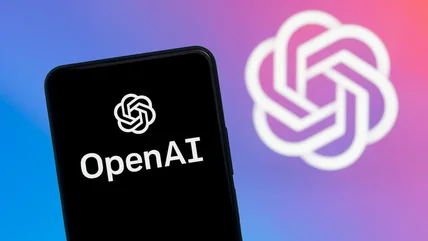
Read MoreThe revamped AI tool will roll out in the coming weeks, according to The Financial Times.
Read MoreDetails for a potential deal haven’t been finalized yet.
Read MoreThe memo also prevents companies from altering AI models being used by the military without prior approval.
Read MoreWhether you hate subscriptions like Kindle Unlimited or simply want to get away from Amazon for whatever reason, you'll find plenty of solid options available.
Read MoreGoogle has just signed a $30 billion AI computing power deal with SpaceX.
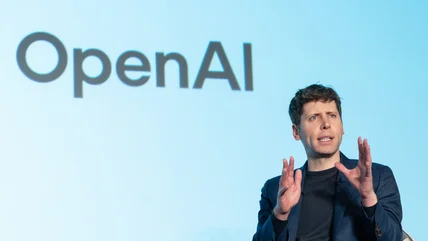
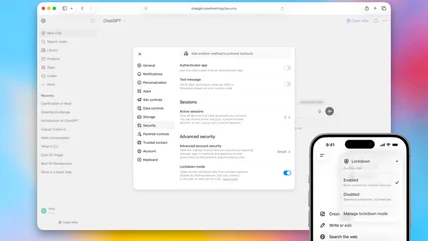
Read MoreOpenAI has announced more robust security features for the small set of users who might need them.
Read MoreGoogle seems to be testing a new feature that will take you to AI Mode by default when you do a search in Chrome.
Read MoreIt's the first instance of an vaccine antigen designed exclusively by artificial intelligence.
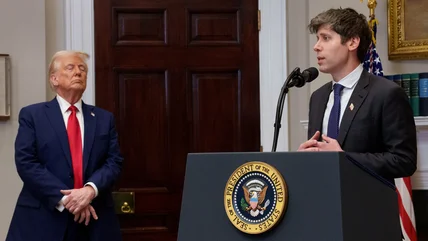
Read MoreThe company said this week it would comply with President Trump's voluntary AI executive order.
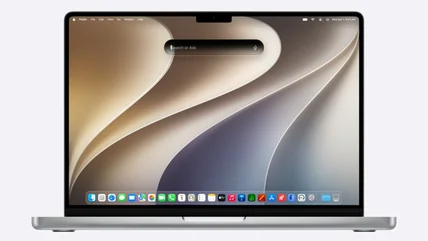
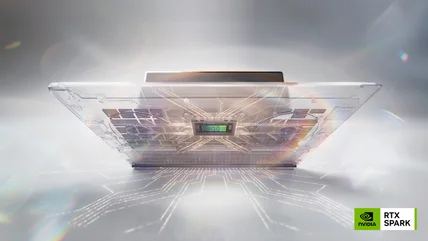
Read MoreArm CPU cores, a powerful GPU and gobs of unified RAM? That sounds familiar!
Read MoreNVIDIA launches a powerful AI-ready notebook chip, NASA ends a Mars mission and Meta's still looking into glasses-based facial recognition.
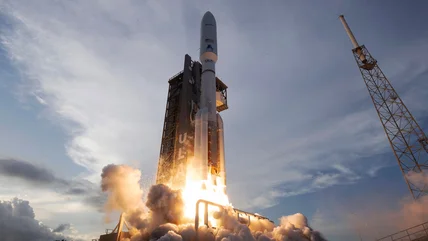
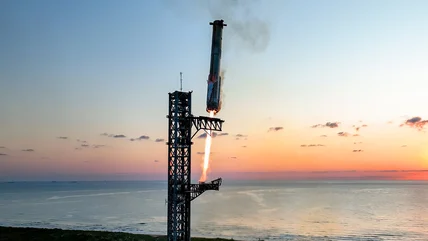
Read MoreThe largest index in the world won't relax its rules to let SpaceX enter early.
Read MoreAnthropic warns that AIs will soon be able to build their own successor, and it’s suggesting that companies may have to slow down development.
Read MoreMeta was previously reported to be exploring facial recognition for its smart glasses.
Read MorePaying users will have tools for reaching either wider or more-specific audiences.
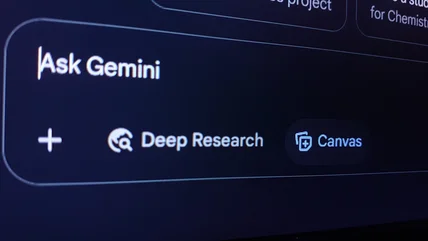
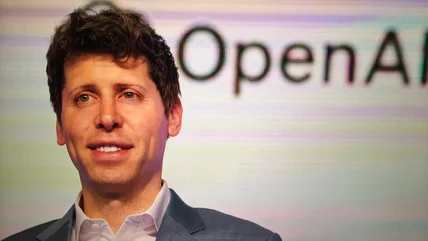
Read MoreOpenAI has significantly improved the chatbot's "dreaming" architecture.
Read More