Mac 101: How to add images to an iMessage


Adding images to an iMessage on your iPhone is easy to do as there is a "camera" icon right next to the message composition field. On the Mac, though, this option is not readily apparent, leaving many desktop users scratching their head when they want to add a simple image to a message they are writing.
Though it is not intuitive, Messages for Mac does allow you to attach on image to an outgoing message. There are two basic ways -- one uses the Finder, while the other uses the sharing feature that is available in most apps.
Using the Finder
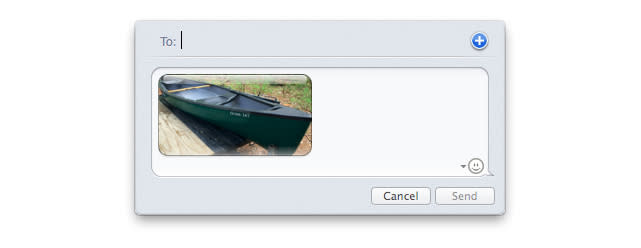
If you haven't started writing a new message, you can select the image in Finder and right-click on it to bring up the contextual menu. Select "Share > Messages" from the contextual menu to create a new message. This opens a small dialog box directly over the Finder window that allows you to enter the recipient information and a text note before sending the image.
If you already have a message in progress, then you will need to follow the steps below:
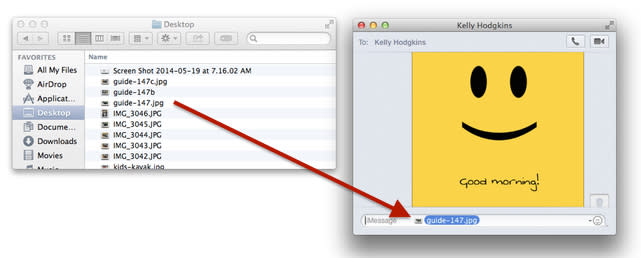
Position the Finder window and the Messages window side-by-side on your screen. This makes it easy to drag the image from one window to another.
Select an image file in the finder. (This also works in iPhoto if you have that app open)
Drag the file to the text entry field in Messages. You will see a "+" icon as you add the image.
You can add text directly after the image or use Option-Return to add some line returns between the image and your text.
Using the "Share" feature in third-party apps
Many OS X apps that work with images, such as Preview or Acorn, allow you to select an image and then choose the Share option either from the main menu bar or from the contextual menu. When you share an image from a third-party app, Messages launches a small dialog box where you can enter the recipient information as well as add some text before sending it along.