Ransomware worries? Turn off Find My Mac/Find My iPhone

Note: Here's how to enable 2-step authentication for your Apple ID.
It's been a rough day Down Under; several iOS and Mac users have found their devices held "ransom" by a hacker leveraging Apple's Find My iPhone and Find My Mac services. Australia's The Age reports information acquired by recent security breaches, combined with the human tendency to reuse security credentials across services, may have led to the lockouts. The normally-helpful (or at least benign) Find My X services can indeed be used for ill, as Wired's Mat Honan learned last year to his regret.
It's noteworthy that iPhone users who have a passcode in place should be able to recover access, as long as the passcode was created outside of setting up Find My iPhone. In this post, I'll explain how to disable Find My iPhone/iPad and Find My Mac, as well as how to create a passcode on your iOS device. First, let's disable those services. Note that you must know your iCloud account information to turn off either of the Find My X services -- that's the point, really, as a thief presumably would not know your password and wouldn't be able to unlock or reinstall your purloined device with FMx turned on.
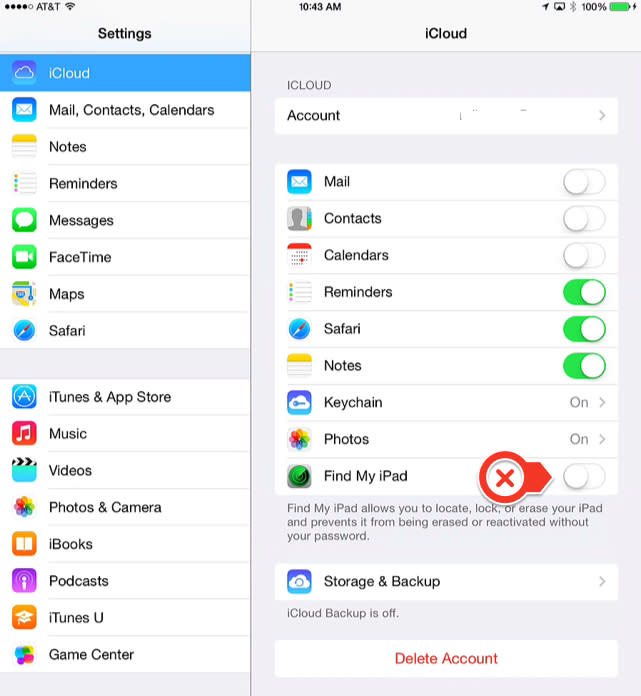
Disable Find My iPhone/iPad
This is quite easy to do. Just follow these steps:
Open the Settings app on your iPhone or iPad.
Tap iCloud.
Scroll to the bottom of the list, and move the slider labeled "Find my iPhone" to the Off position.
You'll need to authenticate with your iCloud password.
That's it. On the Mac, the process is just as simple.
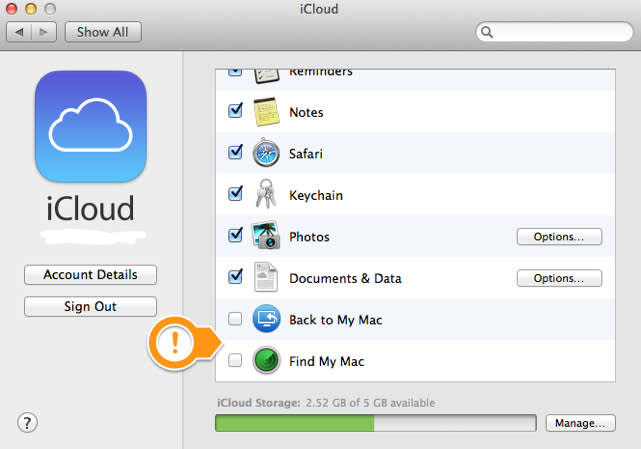
Disable Find My Mac
Launch System Preferences.
Click iCloud.
A new pane appears. Scroll to the bottom of the list on the right. De-select Find My Mac. (If you aren't using it, best to uncheck Back to my Mac as well -- if your iCloud password was compromised then BTMM could also be a security risk.)
Again, you'll need to authenticate with your iCloud password.

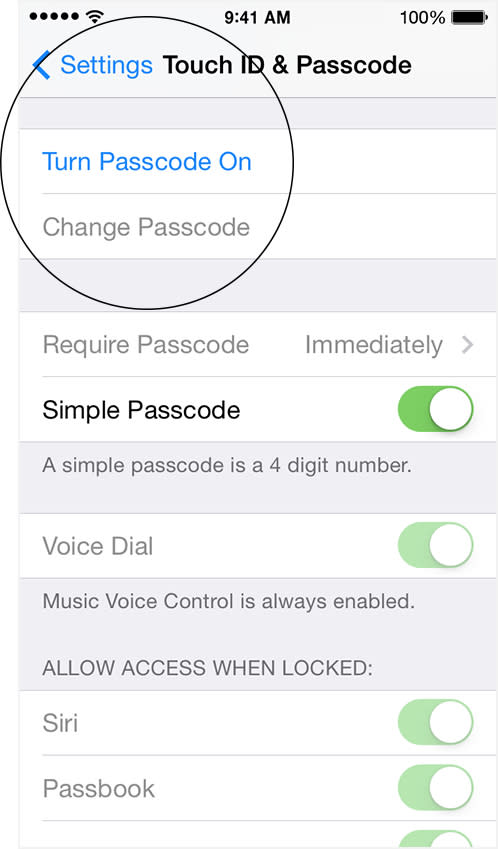
Create an iOS passcode
Just to be sure that you can unlock your device locally if you do re-enable Find My iPhone, it's a good idea to set a passcode. (If you have an iPhone 5s and you enabled the Touch ID feature, iOS forced you to create a passcode, so you're all set.) These screenshots are for iOS 7, but the iOS 6 process is similar.
Open the Settings app.
Scroll down to Passcode.
If you've never created a passcode before, toggle Turn Passcode On.
You'll be prompted for a short (4-digit) numeric "simple passcode" or a longer/complex alphanumeric passcode. Pro tip: Even if your employer or educational institution requires a complex passcode via MDM, you can still access the "quick entry" numeric keypad for your passcode... just create an all-numbers passcode of the minimum length or longer, and you won't have to peck out the unlock code on the full keyboard.)
Once your passcode is enabled and verified, you can set the timeouts for passcode access, which apps can be accessed from the lock screen, and more.
In general, Apple's recovery/security services like Find My iPhone are a very good thing, and beneficial to have up and running -- as long as you observe reasonable password hygiene with your iCloud credentials, which are the "keys to the kingdom" for iOS app purchases, iTunes music, your iCloud email and iWork online documents... well, you get the idea. But turning off Find My iPhone is a reasonable temporary measure if you're concerned about this kind of hack attack, or worse things that could happen with a compromised iCloud password.
Michael Rose contributed to this post.
