The Procedure To Installing OS X Yosemite On Windows

Apple has announced the release of its new operating system OS X Yosemite and with that is the anticipation bubbling among avid followers. This article is to explain the method to installing this OS X Yosemite on Windows. First, let us look at what you will need to do so.
Requisites
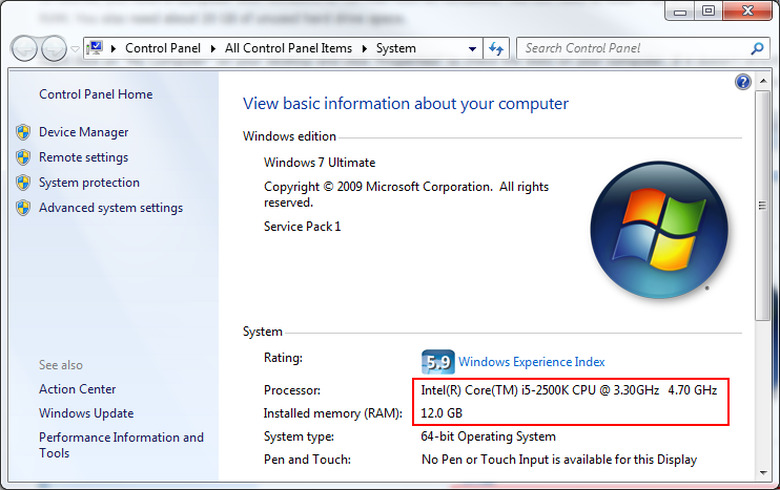
- Computer: A device with a 64-bit Windows operating system.
A dual core processor preferably made by 'Intel'. This is because the 'AMD' processors make the procedure a little longer and reduce the quality of the result as well.
A minimum of 10 GB free space in the hard drive
- Virtualbox: This method installs OS X Yosemite to function from a Windows system. Therefore, 'Virtualbox' is used to create a platform to support the operating system. This suite can be easily installed free of cost.
- Yosemite Zone: The original Yosemite installer cannot be used with the Virtualbox, which necessitates the use of a pirated version. One such choice is the Yosemite Zone, which occupies about 5 GB in space.
This disk image file is available for download as a torrent from the Hackintosh Zone website. When downloading, choose Yosemite ISO Torrent.zip instead of the DMG Torrent.
Step 1 – Creating A Virtual Machine Using Virtualbox
The first step involves setting up the virtual machine which would enable OS X Yosemite to run on Windows. For this, click on the "New" button on the upper left corner in Virtualbox. After naming your new machine, make the following choices for your settings.
- 64-bit system
- Minimum 2 GB RAM though 4 GB is recommended
- VDI virtual hard drive, unless you plan to get VMWare in which case choose a VDMK hard drive
- Dynamically expanding hard drive
- A minimum allocation of 10 GB space for the hard drive though you may continue with the 20 GB set by default.
Now reopen Virtualbox and from its left column, open the virtual machine that you had created in the previous step. In the machine settings, make the following changes.

- In 'System', deselect the 'Enable EFI' box
- In 'Storage' CD icon named 'Empty' select the menu, "virtual CD/DVD file" from which choose the Yosemite zone file with a .iso extension.
Step 2: Installing OS X Yosemite
When you start your virtual machine, select 'Yosemite Zone' on the Yosemite boot screen and click "Enter" which will take you to the installer.
For 'AMD' Processor Users – use the boot flag "/amd" or "/amd64" (delete quotations) by testing which works for you. If you find "FX" in your processor's model name, you will need to use the boot flag "/amdfx" (delete quotations)
When asked to choose the installation destination, select 'Disk Utility' from the Utility menu. In this, choose the Virtualbox hard drive and click 'Erase'. Only after this will the Virtualbox hard drive appear on the list of available destinations in the installer which you will now have to select.
At this stage, the 'Customize' option on the lower left corner can be utilized for extra Hackintosh drivers and kexts.
Here you will need to deselect the following three options
• Install Audio Drivers (Kexts)
• Install Network Drivers (Kexts)
• Graphics GraphicsEnabler=Yes
Now click the 'Install' button. At the end of the process, even if the installer crashes and you see a crash log, the installation would have been finished successfully.
Step 3: Booting The System
Now restart the virtual machine and on the Virtualbox window's bottom right corner, right-click the CD icon, after which you will have to deselect the Yosemite Zone file with the .iso extension. Use the 'Ctrl' key on the keyboard to free your mouse cursor if it gets stuck.
Once again, restart your virtual machine whose screen might now be larger. Also, the drive where Yosemite had been installed will be displayed by an Apple icon on the bootup screen.
After this, the print screen Mac, and once the required details are filled, the installation process is complete.
If The Account Creation Process Is Passed Over: Log in using the username, 'root' and password, 'niresh' and then create your account.
If The Ethernet Does Not Work: Switch off the virtual machine. Then click it once and go to settings. Here, select "Network" "Advanced" and alter the Adapter type to "Intel PRO/1000 MT Server" from the default "Intel PRO/1000 T Server".
To Increase The Screen Size:
• Go to Finder Preferences in the menu bar "Sidebar" settings select Hard Disks
• Go to your virtual machine's hard drive Extra org.Chameleon.boot.plist
• Between and , paste
Graphics Mode
1920x1080x32 (Enter the required resolution)
• After it is saved, turn the virtual machine off.
• Open Command Prompt and type
cd "C:\Program Files\Oracle\Virtualbox"
• And then type
vboxmanage setextradata "Name of virtual machine" "CustomVideoMode1" "1920x1080x32" (Enter your machine name and your required resolution).
• Click "Enter" and turn on your virtual machine and the process is complete.
A Word Of Caution
This procedure with Virtualbox is comparatively easy than working with a real computer. However, Windows virtualization programs may not give the best compatibility for full graphics support though they do manage to work.