How to create stickers on the iPhone using your photos in iOS 17
You can even send animated stickers with Live Photos in iMessage.
Creating stickers from photos is an easily overlooked iPhone feature tucked into iOS 17. Using Apple's machine learning algorithms that quickly separate a subject from its background, it extracts pictures of you, your friends or pets (or anything else it detects as the picture's subject), transforming them into digital decals. It even makes animated stickers from Live Photos to slap onto iMessage chats or Markup tools. Here's how to create your own.
What are iPhone stickers?
In Apple's ecosystem, stickers are digital versions of their real-world counterparts. They debuted in iOS 10, Apple's 2016 iPhone operating system, allowing users to place cut-outs of fun images onto iMessage bubbles for more personalized reactions.
Creating iPhone stickers from photos is new to iOS 17, and so is their location. In older versions of iOS, you had to navigate the iMessage App Store (in the Messages app) and app drawer to find them. In the new software's more streamlined approach, you only have to tap the plus icon next to a message, choose Stickers and pick the one you want. (More on that below.)
How to create stickers from photos in iOS 17
Here's how to make custom stickers from your photos on Apple's latest iPhone software:
-
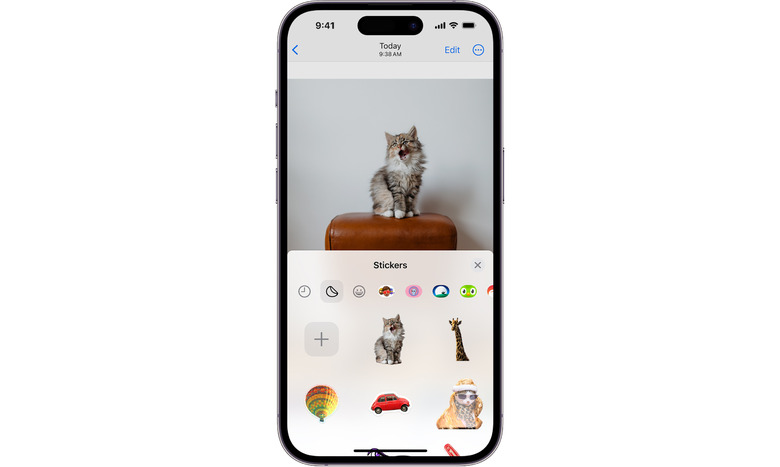
In the Photos app on your iPhone, choose a picture you want to transform into an iPhone sticker. Tap on the photo to open it in a full-screen view.
-
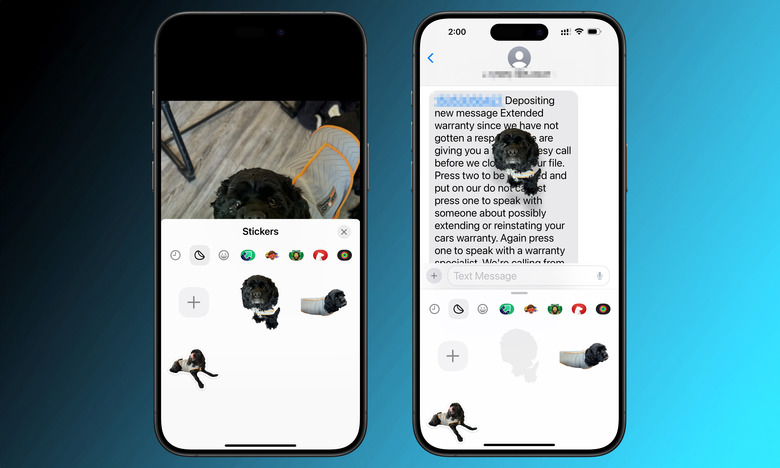
Touch and hold your finger on the photo's subject. For example, if it's a picture of your dog making a derpy face, hold your finger down on the pup until you see an animated effect highlighting the subject. (If it doesn't work on the first try, do it again.)
-
In the popup menu that appears above the subject, choose "Add Sticker." If you don't see that text, tap on the arrow (>) at the right end of the options box until you find it. After tapping "Add Sticker," the decal will appear below in the same drawer you'll see in the Messages app.
-
Optionally, hold your finger down on it in the stickers drawer and choose "Add Effect" from the menu. You can give it a standard outline, add a comic style, transform it into a puffy sticker or make it shiny.
-
Tap the X button or swipe down to close the Stickers menu at the bottom of the screen.
How to create stickers from Live Photos in iOS 17
Apple's Live Photo adds (roughly) three-second video clips captured before and after pressing the shutter button. If you took your source picture as a Live Photo, you can turn it into an animated iPhone sticker through the following steps:
-
Open the iOS Photos app, and tap on the Live Photo you want to turn into an animated sticker. It should now take up your phone's entire screen.
-
Hold your finger down on the photo's subject. Wait until you see an animated ripple effect protruding and highlighting the subject. (Try again if it doesn't catch the first time.)
-
In the menu above the subject, choose "Add Sticker." If you don't see that option, tap the right arrow at the end of the menu. After tapping "Add Sticker," you'll see the subject appear in a drawer below with your custom stickers.
-
You should see a pop-up menu above the sticker. If you don't, hold your finger down on the sticker in the list. Choose "Add Effect." A new screen with effects options will appear.
-
In addition to sticker effect options, you'll see "Off" on the upper left. Tap that until it changes to "Live." You now have an animated sticker.
-
Press the X button or swipe down to close the sticker drawer.
How to use custom stickers in iMessage
Here's how to use your new photo sticker in the Messages app:
-
In Messages, open a chat thread.
-
Press the + button to the left of the text box.
-
Choose "Stickers."
-
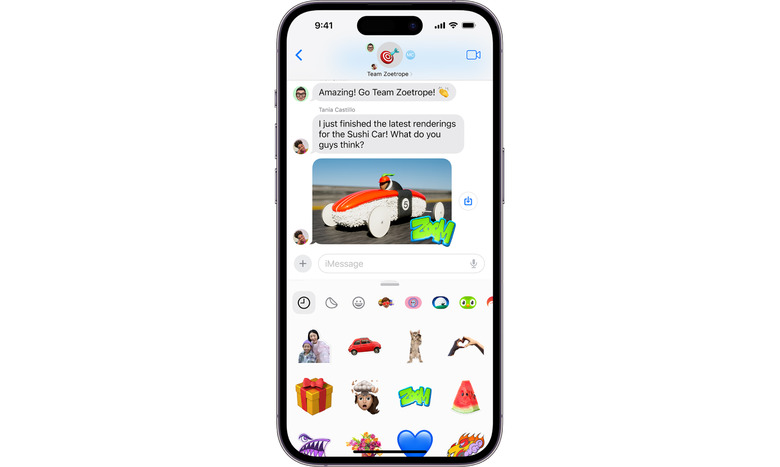
If you don't see your custom sticker in the "recently used" menu below, tap the sticker icon (between the 9:00 clock and smiley face icons, above the stickers but below the text box) to find it.
-
If you want to place the sticker in a reply, tap the one you want. Or, if you're going to include it as a reaction on top of a chat bubble, hold your finger down on the sticker and drag it onto the message to which you want to react.
How to use custom stickers in Markup
You can also add stickers to photos, screenshots, PDFs, email attachments and other documents:
-
Open an image or file you want to add a sticker to. It could be through the Photos app, Files, Mail, Notes or any other app that supports Markup edits.
-
If you're in Photos, tap "Edit," then choose the Markup icon (upward-facing pen on the upper right). If you're in Files or another app where you already see the icon, skip the "Edit" step and only tap the pen symbol.
-
Once you've opened the Markup menu, tap the + sign at the far right of the bottom toolbar (next to the color palette and pencil).
-
Tap "Add Sticker."
-
Choose the custom sticker you just made.
-
It should appear with a blue bounding box atop the original photo or document. Drag the corners to resize, or slide your finger across the screen to move it.
-
Tap outside the bounding box to place the sticker.
-
Tap "Done" to save the changes.
For more on iOS 17, you can catch up on Engadget's review of Apple's 2023 iPhone operating system.