Totem Talk: Resto Faces Another Sha, and Ganks a Dragon
Every week, WoW Insider brings you Totem talk for the shaman. Want to be a sultan of swing healing? A champion of Chain Heal? Totem Talk: Restoration, brought to you by Joe Perez (otherwise known as Lodur from World of Matticus and InternetDragons.TV), shows you how.
You've made it this far, and you're almost through the opening act in the Siege of Orgirmmar. You are getting ever so much closer to facing down Garrosh. The next two bosses that stand in your way are both pretty straight forward, but also have the potential to be infinitely annoying.
The good news, at least for Restoration shaman, is that both of these upcoming fights have amazing opportunity to make use all of our group healing spells and abilities. The mechanics aren't too terribly hard, but they are certainly worth going over so you can know what to expect.
This is not a comprehensive boss guide, but is instead tips and tricks I have learned through my own personal experiences.
Sha of Pride and Prejudice and Zombies
Well, I guess not actual zombies, though your raid members do have a chance to become uber corrupted and start working for the bad guys. It just happened to be on my mind as I've recently just read the book of the similar title. Anyways, so this is the core of the corruption of the Vale itself, spawned when Garrosh's arrogance unleashed the powers of the Heart of Y'Shaarj. You will find it in the same place where the Heart was located, the Titan Vault. The fight is pretty straight forward as a healer.
For the most part of the fight, the major strats call for your raid group call for every one to stand together on the discarded weapon of Garrosh, Gorehowl. For most of this fight you're going to get to make great use of Healing Rain and Chain Heal. The main reason that everyone stays grouped up is for Gift of the Titans. Players with the gift are immune to all boss effects that cause you to gain pride, which is the fights main mechanic really. This is important as a resto shaman because you will need to remove Mark of Arrogance. Mark will cause anyone with the debuff to take shadow damage every second until it is dispelled. You can get rid of it with your Cleanse Spirit, but unless you have Gift of the Titans, you will increase your pride by doing so. It is also a good reason to load up Glyph of Cleansing Waters to get a little extra healing whenever you do remove the effect. The other reason everyone stacks together is that as a bonus to getting Gift of the Titans, is that anyone within 8 yards of someone with the buff gains Power of the Titans, which increases haste and buffs the damage your group does, as well as increasing the healing your group does. So, standing close is pretty important for the duration of the fight.
At 30% health, the Sha of Pride becomes unleashed and kills Nuroshon, who gives you his Final Gift. After this point, cleanse people as needed but be mindful of your total pride. Raid damage increases and pulses at a steady clip from this point on, so it is a perfect opportunity for you to use Spirit Link Totem, Healing Tide Totem and HeroLust. The other thing to really watch for is the people who get locked up in a Corrupted Prison. When someone gets sealed up, they only get released when people stand on the pressure plates around them. Just keep your eyes peeled and be ready to pop Ghost Wolf to get to them and break them out. The sooner they get out, the sooner they get back to healing or dealing damage, the sooner the boss goes down.
Honestly, as a healer, that's pretty much about it. Stand with the group, heal your heart out, and whenever you get selected to have the Gift of the Titans, cleanse everything you possibly can. The other thing is going to be not standing in bad, which is pretty much par for the course.
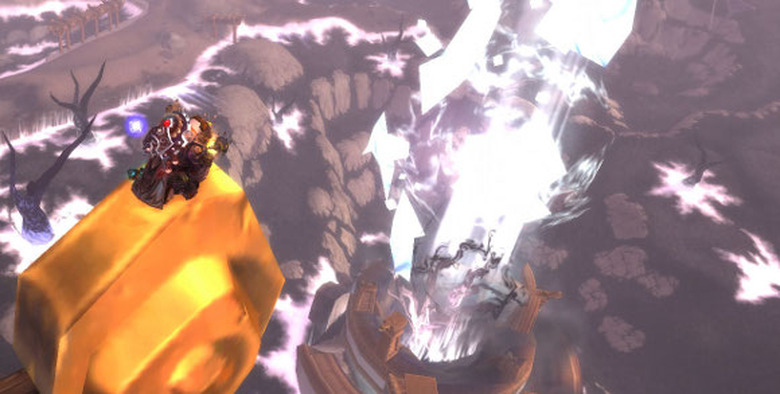
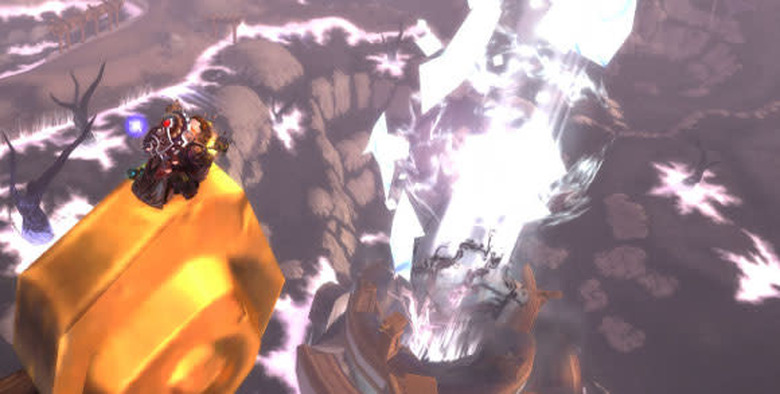
Towers and Dragons
After beating down the Sha, it's time to take on lineage from Warcraft history. After all, Pride goeth before a fall. OK, that was bad, I just couldn't resist. The next fight is Galakras, a direct descendant of the progenitor of all dragonkind. The fight is split into two phases, tower phase and ground phase. During the tower phase, you fight waves of enemies on the ground while allies break in to the two towers that flank the road to the gates of Orgrimmar. You are joined by friendly NPCs that are there to help you take down the dragon and help you on your way. Now, as a restoration shaman, this is something that you do actually have to be aware of. Remember last article? The one where I complained about the weird AI on Chain Heal? Well, this is the fight that has been vexing me for weeks. When you're on the ground you do need to be mindful of who you are targeting with your Chain Heal and who they are standing close to. There is a very real possibility that you will find yourself healing the NPCs with Chain Heal as much or more than your own raid members. So, basically what I'm saying here, is just pay attention to who is where and cast your spells accordingly.
So, in the first phase, other than watching your chain heals, the ground phase is pretty simple. Don't stand in bad. If you see fire beneath your feet, move. If you see a giant billowing cloud of green death, move. Simple as that. You will need to pay attention for High Enforcer Thranok, since he has an ability that pulls random raid members to him before he casts an AOE effect. Keep Spiritwalker's Grace handy to heal as you move out of the damage area. If you find yourself going into the towers, I'm going to recommend that you pick up Windwalk Totem. At the top of each tower is a mini boss, and a smathering of minions to deal with. The mini boss on each tower does a thunder clap that slows everyone down. WWT will remove this debuff from everyone up top, and that's important because each mini boss also has an ability that will knock anyone caught in it from the tower to their deaths. Trust me, you'll love this totem even more afterwards.
The big damage phase is after your team takes over both towers and shoots down Galakras. In this phase, Galakras targets someone with a giant fireball the Flames of Galakrond. For every raid member it passes through, the amount of damage it deals is lowered. The very angry dragon also periodically uses Pulsing Flames, which not only deals more fire damage but also increases the fire damage you take. This is the phase where you stack up, drop HR and pump that Chain Heal. Oh, and hope it's hitting your raid members and not the NPCs. Other than that, there's not a whole lot to the fight. Keep your head about you, and pay attention to your surroundings and where your raid is standing, and you'll be eating roasted dragon before you know it.
Totem Talk: Restoration lends you advice on healing groups, DK tanks and heroics and mana concerns in today's endgame — or take a break and look back at the rise of the resto shaman. Happy healing, and may your mana be plentiful!