

Why are your iPhone photos so blurry (and how to improve it)
Blurry photos usually go deeper than a little grease on your lens.
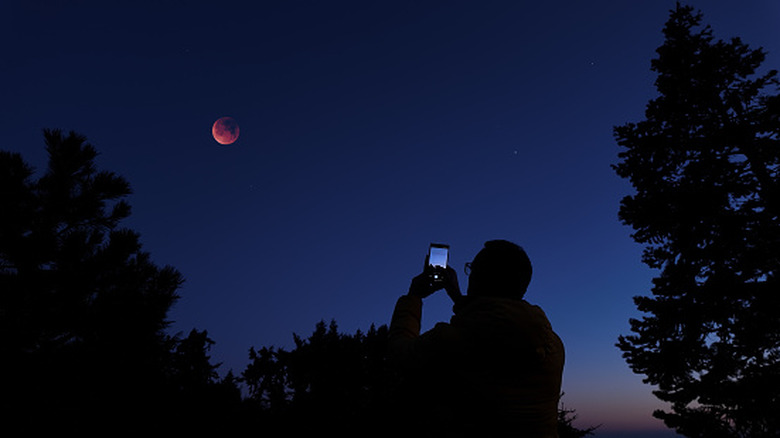
Phone cameras are a modern convenience that's all too often taken for granted, making casual photography accessible to millions in a lightweight package. While your phone's camera probably won't beat out a device designed exclusively for taking photos and video, there are ways to take some especially pretty pictures with just your smartphone. That makes it all the more cumbersome when those pictures come out blurry — an all-too-common problem for iPhone users.
While any phone can take a blurry photo, the proliferation of the iPhone has led most complaints of this sort to center on it. Luckily, the iPhone has an incredible number of camera settings, including a whole host of ways to avoid blurry pictures — and you won't even need the fancy AI Clean Up tools from iOS 27 for great results. Whether it's making sure your lens is clean or turning on the right toggles for dark video, blurry photos are easy to fix.
Why your iPhone photos might be blurry
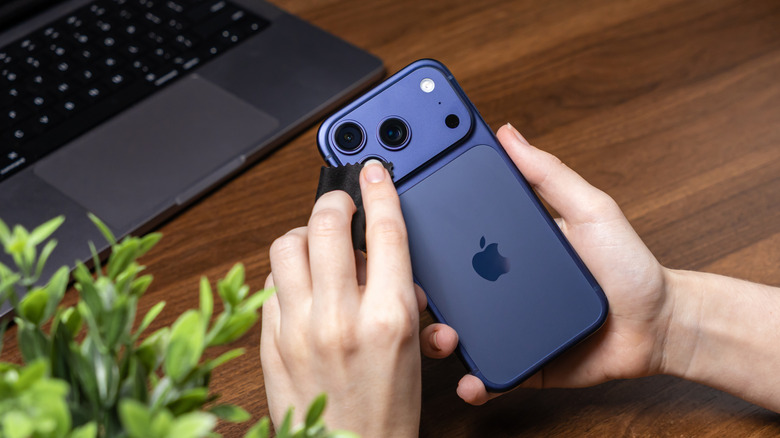
Before messing with any settings, you'll want to make sure your camera lens isn't what's causing the issue. If your lens is smudged up, don't just dab it with tissue paper or the end of your shirt; take off the case, grab a microfiber cloth, and wipe the lens down. If marks are persistent, add a very light dab of distilled water to the cloth (not right on the lens!) and wipe gently.
That's just the tip of the iceberg, though, as a lot of iPhone footage and photos can still turn out blocky or blurry, lacking the crispness you might be looking for. The next issue you want to look at is the light level you're working with, which is a prime culprit behind so many blurry shots. Low light levels make it harder for cameras to focus reliably, often require slower shutter speeds, and can introduce more noise — all of which can leave photos and videos looking blurry, grainy, or blocky after compression. If you want to improve your smartphone photography, you'll need to deal with low-light conditions.
Which settings to change for less blurry photos and videos
A good start is the camera settings on your iPhone (Settings > Camera), where you can change the resolution at the top (there are different frame rates and resolution settings here, but anything above 720p will generally produce crisper image quality). However, some of the more helpful features are in the camera itself, such as locking focus: Instead of letting your camera shift focus all over the place, you can tap the image and hold on the area you want to focus on until the "AE/AF LOCK" prompt appears on-screen. On models iPhone 11 and newer, you can also turn on Night Mode (signified by the moon icon at the top of the camera interface), though it will turn on automatically if you're in low light. Night Mode will automatically brighten and capture low-light images with more detail.
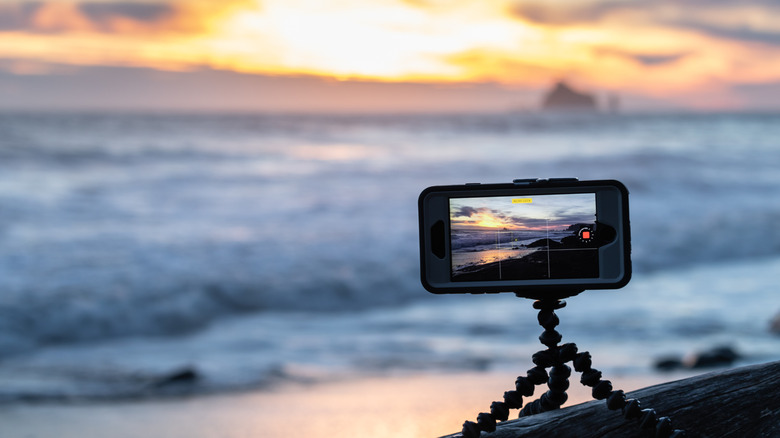
When it comes to adjusting shutter speeds and changing your ISO settings — slower shutter speeds can introduce motion blur, while higher ISO settings can increase visible noise and reduce image quality — you'll need a third-party app like Camera+. Apps like these let you dig into the minute controls of your camera and give you a leg up if you're on an older device. In addition to digital tools, you should consider getting a tripod to stabilize your shots if you're serious about avoiding blur. A tripod keeps the iPhone still during longer exposures, reducing camera shake that can otherwise turn small movements into visible blur — especially in low light.